How to Clean Vape Coils: Boost Flavor & Extend Coil Life
Tired of your vape tasting burnt after just a few days? Before you toss out another coil, you might just need a good cleaning. Many vapers—even experienced ones—overlook this crucial maintenance step, only to deal with harsh flavors, weak clouds, and unnecessary coil replacements.
This guide will show you exactly how to clean vape coils, list the tools you’ll need, and share expert tips to help you get the most out of every puff.
Cleaning vape coils isn’t complicated, but it can make a world of difference in your vaping experience. Whether you’re brand new or a seasoned pro, you’ll find practical steps and vape coil maintenance tips to keep your device running smooth and flavorful.
Quick Navigation
- Why Cleaning Your Vape Coil Matters
- Tools You’ll Need for Cleaning
- How to Clean a Vape Coil: Step-by-Step Instructions
- Maintenance Tips for Prolonging Coil Life
- Common Mistakes to Avoid
- Frequently Asked Questions (FAQs)
- Conclusion
Why Clean Vape Coils Matter
A dirty vape coil means dull flavor, weaker vapor, and an increased risk of inhaling burnt residue. Over time, e-liquid residue, sweeteners, and other particles build up on your coil. This buildup not only affects the purity of your flavor but also forces your device to work harder and shortens the lifespan of each coil.
By keeping your coil clean, you can:
-
Enjoy a purer, richer flavor: Experience your e-juice as it was meant to taste.
-
Save money: A well-maintained coil lasts longer, reducing frequent replacements.
-
Avoid burnt or harsh hits: Eliminate the risk of inhaling burnt residue.
-
Improve vapor production: Get fuller clouds and a smoother experience.
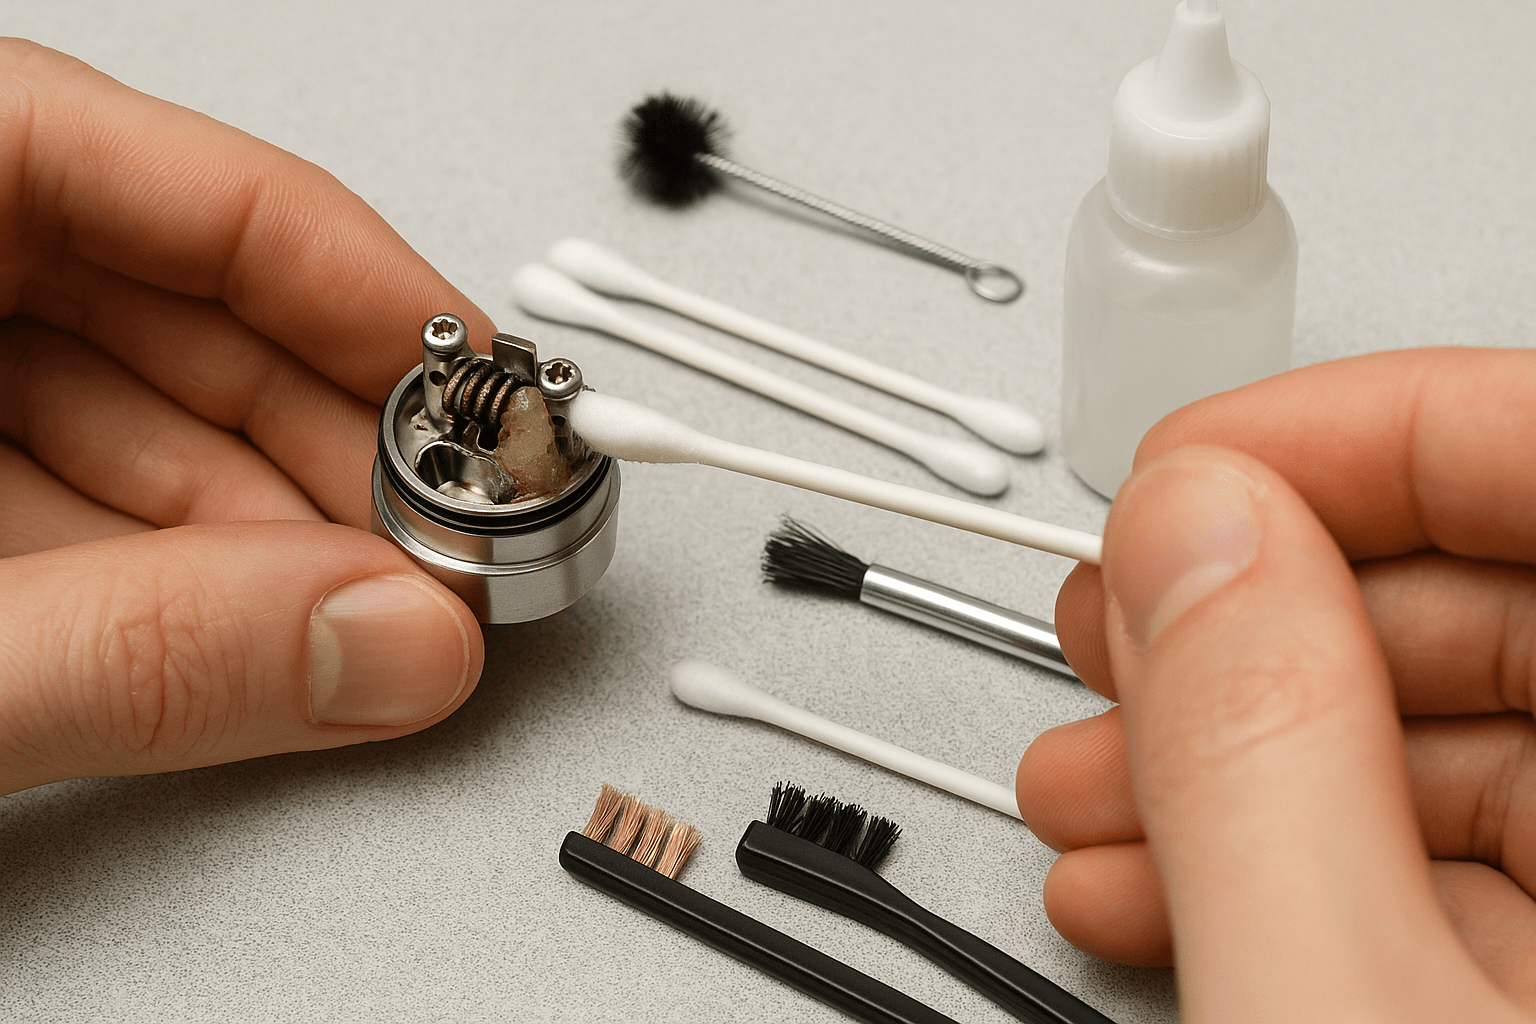
Tools & Materials You’ll Need
To follow the best way to clean vape coils, gather these items:
-
Small bowl or cup
-
Warm water
-
High-proof, unflavored alcohol (like vodka) for deep cleaning (optional)
-
Paper towels or a clean cloth
-
Tweezers (optional)
-
A hair dryer or fan for quicker drying (optional)
-
Cotton swabs (for cleaning tight spots)
-
Rubber gloves (if you want to keep hands clean)
Having these tools handy makes the process both effective and hassle-free.
How to Clean a Vape Coil: Step-by-Step Instructions
Cleaning your vape coil only takes a few steps, but each one is important for getting the best results.
1. Remove the Coil
Before you start cleaning, turn off and disassemble your vape device. Remove the tank and carefully unscrew or pull out the coil. If the coil is old or burnt beyond saving (dark, crusty spots that don’t wash away), you may be better off replacing it. Otherwise, proceed to clean.
2. Rinse the Coil in Water
Fill a small bowl with warm (not boiling) water. Rinse the coil under running warm water to loosen up the residue. You can then soak it in the bowl for about 10–15 minutes to help dissolve any lingering e-liquid and particles. For better results, gently shake the coil in the water to agitate built-up residue.
Pro tip: If there’s stubborn gunk, use a cotton swab to gently rub away residue.
3. Deep Clean with Alcohol (Optional)
For a deeper clean, especially if you’re switching flavors or using sweet/high-VG liquids, soak your coil in high-proof, flavorless alcohol (such as vodka) for a few hours. Alcohol breaks down the toughest residue and evaporates cleanly.
After soaking, rinse the coil thoroughly in warm water to remove any leftover alcohol. Skipping this step can result in an unpleasant taste on your next vape.
4. Dry the Coil Completely
Shake off excess water from the coil. Place the coil on a paper towel or clean cloth and air dry until it’s completely moisture-free. This can take several hours, so be patient. Using a fan or a hair dryer set to a cool (not hot) setting can speed things up.
Warning: Never install a wet coil in your device; leftover moisture can damage your vape or affect performance.
5. Reassemble and Prime the Coil
Once the coil is dry, reassemble your vape device. Before using the coil, prime it with a few drops of your favorite e-liquid directly onto the wicking material. This step helps prevent dry hits and prolongs coil life.
Fill your tank, allow the coil to soak for a few minutes, and then take a few gentle puffs (without activating the device) to help saturate the wick.
🔁 Here’s a quick summary to keep on hand:
-
Rinse in warm water
-
Soak in alcohol (optional)
-
Dry fully
-
Prime before vaping
Maintenance Tips to Extend Coil Life
A little extra care every day keeps your vape performance at its best. Here are top maintenance tips for long-lasting, flavorful coils:
-
Use the right wattage: Check manufacturer specs and don’t exceed the recommended wattage range.
-
Avoid chain vaping: Rapid, repeated hits can cause the coil and wick to overheat, leading to burnt cotton.
-
Choose cleaner e-liquids: High-sweetener or high-VG liquids gunk up coils faster. Opt for juices with less sweetener if possible.
-
Refill before empty: Don’t wait for your tank to run dry before refilling. Exposed wicks can burn more easily.
-
Clean your coil regularly: Routine cleaning means you won’t need to replace coils as often, and you’ll always have great flavor.
-
Store your vape properly: Keep your device in a cool, dry place and avoid mixing old residue with new e-liquid by cleaning tanks and mouthpieces frequently.
Common Mistakes to Avoid
-
Over-tightening parts: Over-tightening your tank or coil can cause threading issues and lead to leaks or damage. Secure your components, but don’t overtighten.
-
Not priming new coils: Failing to prime a new coil before use can result in burnt hits. Always saturate the wick with e-liquid before turning on your device.
-
Using mismatched wattage: Running your vape at a wattage too high or low for your coil can reduce its lifespan or deliver subpar performance. Check the recommended wattage for your coil.
-
Ignoring battery safety: To maintain proper battery safety, always use the right charger, avoid overcharging, and regularly inspect batteries for any damage to ensure safe and long-lasting use.
Frequently Asked Questions (FAQ)
1. How often should I replace my coil?
Coil longevity depends on usage and the type of e-liquid, but on average, it’s recommended to replace your coil every 1-2 weeks for optimal performance.
2. What’s the best way to clean my vape tank?
Rinse the tank with warm water and mild soap, then dry thoroughly with a clean cloth or paper towel. For deep cleaning, you can use isopropyl alcohol for stubborn residue, ensuring it is rinsed off completely.
3. Why does my vape leak?
Common causes of leaks include overfilling the tank, worn seals, or improper coil installation. Always check that parts are securely fastened and avoid overfilling.
4. Can I use any e-liquid with my device?
Not all e-liquids are compatible with every device. Check your device’s specifications to ensure you’re using the appropriate VG/PG ratio and nicotine strength for optimal performance.
5. How do I extend my battery life?
To preserve your vape battery, avoid overcharging, store it in moderate temperatures, and charge it before it fully depletes. Frequent partial charges are often better than draining the battery entirely.
6. Can you clean pre-built coil heads?
Yes, but results vary. While cleaning can extend their life, it won't restore them to new. For best flavor, consider replacing them regularly.
7. Is it safe to vape immediately after cleaning the coil?
Only after it’s fully dry and primed. Vaping with moisture in the coil can cause gurgling, poor performance, or device damage.
Next Steps for a Cleaner, Tastier Vape
Keeping your vape coil clean is quick and easy, and the benefits are well worth the effort. A clean coil delivers richer flavor, smoother hits, and helps you save money in the long run. Make coil cleaning a regular habit for fresher, more enjoyable clouds every time you vape.
Looking for more vaping tips? Subscribe to our newsletter for expert advice, product updates, and exclusive deals!
Have questions about your vape setup? Drop them in the comments—we’re here to help!